News
How to Order Banner Proofs Without Delays

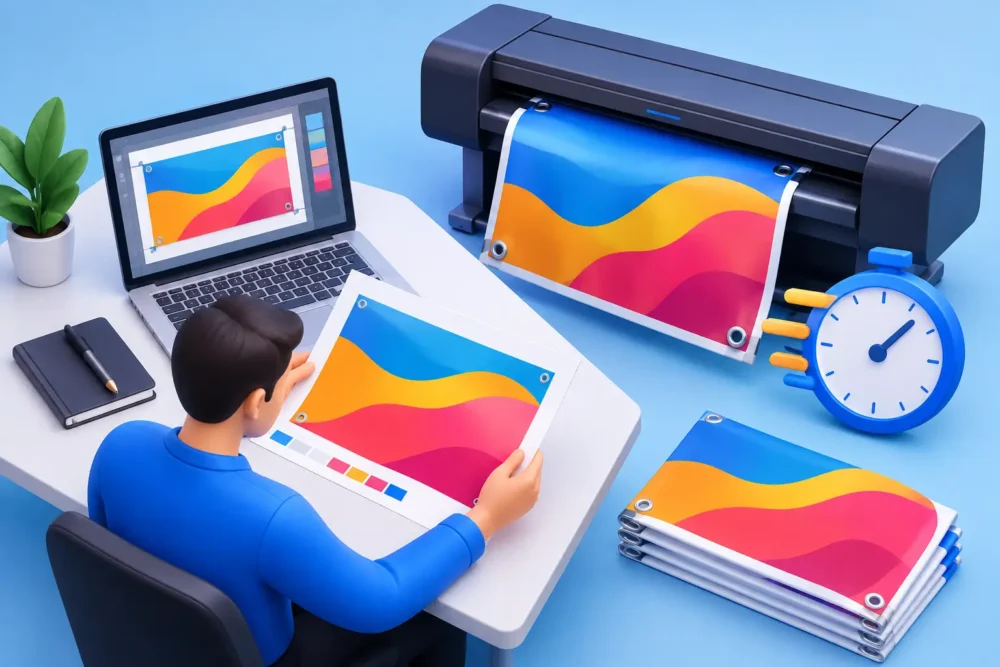
A banner proof is your final opportunity to check what will be printed before your PVC banner, mesh banner, site board or exhibition display goes into production. Knowing how to order banner proofs properly helps prevent costly mistakes, avoids hold-ups on site and gives you confidence that your branding, message and dimensions are right first time.
For construction sites, retail promotions and event campaigns, a proof is not just a formality. A missed phone number, an old logo or the wrong fixing position can make a banner far less useful once it arrives. Taking a few minutes to supply clear information and review the proof carefully keeps your order moving and your signage working as intended.
How to Order Banner Proofs for Your Print Job
Start by choosing the right product for the job. A standard PVC banner is a dependable choice for promotions, shopfronts and short-to-medium-term outdoor use. Mesh banners are better suited to fencing, scaffolding and exposed locations where wind needs to pass through. Heras fence banners, hoarding panels, rigid signs and roller banners each have different size, finishing and artwork requirements, so select the product before sending artwork.
When placing your order, enter the finished size you need rather than estimating from the visual alone. Measure the available area on the fence, hoarding, wall or display stand, allowing for posts, rails, gates and any clearance around the edge. If a banner needs to fit inside a Heras panel or across a specific run of scaffold, check the actual usable dimensions on site.
Upload your artwork at the highest practical quality. A print-ready PDF is usually the strongest option because it preserves the layout, fonts and vector graphics. High-resolution TIFF, JPEG and EPS files can also be suitable, depending on the design. Avoid screenshots, compressed images copied from social media, or artwork pulled from a website, as these can look soft or pixelated at large format.
If you need help with the artwork, provide the core materials at the point of order: your logo, wording, brand colours, photographs, preferred size and any examples of the look you want. Big Value Banners offers free design support and proofs, giving trade buyers and busy site teams a practical route to professionally prepared signage without needing to build the layout from scratch.
Include any essential production notes in clear, plain language. For example, state whether the banner will be fixed to fencing, tied to scaffold or mounted to a wall. This helps identify the right finishing, such as eyelets, pole pockets or reinforced hems. If the banner must match existing signs or carry a particular site reference, include that information with the artwork rather than relying on a verbal follow-up later.
What Your Banner Proof Should Show
A banner proof is a digital layout for approval. It should show the supplied artwork at the ordered proportions, together with the key details that affect how the finished item will look and fit. Do not approve it based only on whether the logo appears somewhere on the page. Check the whole job against the purpose it needs to serve.
First, check the finished dimensions. A 3 m x 1 m banner and a 1 m x 3 m banner contain the same area but perform very differently. Confirm that the orientation is correct and that the design has not been stretched, cropped or placed into a format that does not suit the installation location.
Then read every word, number and email address character by character. This matters particularly for construction signage, safety messages, dates, event details and contact information. A spelling error may be easy to miss on screen, but it becomes highly visible when printed across a gate or hoarding run.
Look at the hierarchy from a distance. The main message should be readable quickly, while secondary information can sit lower in the layout. If the banner is intended for passing traffic or a busy site entrance, a short headline, large logo and clear contact number will usually work better than a crowded design full of small text. There is a trade-off here: adding every service, accreditation and social handle may feel comprehensive, but can weaken the message at viewing distance.
Check colours with realistic expectations. A digital screen is illuminated, while a printed banner is viewed under natural or artificial light. Colours may appear different depending on your monitor settings and the material selected. If exact brand matching is critical, state this before artwork is prepared and supply the relevant colour references where available. For most promotional banners, strong contrast and legibility are more important than chasing a screen-perfect shade.
Finally, inspect the edges and finishing. Keep important text, logos and faces comfortably inside the safe area so they are not too close to hems, eyelets or trims. Eyelets are designed for fixing points, not for sitting over a key letter or telephone digit. For scaffold banners and fence banners, ensure the layout still makes sense once ties and rails are in place.
Send Approval Clearly and Quickly
Once the proof is correct, approve it using the requested approval method and make it unambiguous. A clear response such as “Approved for print” prevents confusion. If you need changes, list them in one organised reply rather than sending several separate messages as ideas occur to different people.
Be specific when requesting amendments. “Make the logo bigger” can lead to another round of questions, while “Increase the logo at the top left by approximately 20%, keeping the phone number in its current position” gives the designer a workable instruction. Refer to the proof version if more than one layout has been supplied.
Avoid approving a proof with comments such as “Looks fine, except…” or “Print it if you think it works.” Production teams need a definitive go-ahead. If something needs changing, it is not approved yet. If the artwork is right, confirm approval promptly so the order can move into the production queue and dispatch timetable.
It is also sensible to nominate one person to give final sign-off. Marketing, procurement, site management and clients can all have useful input, but too many approvers can create conflicting instructions and delay urgent work. Gather internal feedback first, then send one final response to the print team.
Common Proofing Errors That Cause Delays
The most common problem is ordering before the final information is available. A site opening date changes, a phone number is updated or a client sends a new logo after the proof has been prepared. Where possible, collect final copy and assets before placing the order. This is especially useful when ordering multiple banners, boards and safety signs for one project.
Another issue is supplying low-resolution artwork and expecting it to sharpen in print. Large-format printing can produce excellent results from properly prepared files, but it cannot create detail that is not present in the original image. If a photograph is only suitable for a small web advert, it may not be suitable for a 2 m banner.
Buyers also sometimes overlook material choice. A solid PVC banner may be ideal for a sheltered retail frontage, but a wind-exposed perimeter fence may call for mesh. The proof can confirm the artwork layout, yet it cannot correct a product choice that does not match the environment. Consider location, duration, fixing method and weather exposure at the same time as the design.
Do not assume that a previous order can be reused without checking it. Reprints save time when the artwork, size and finishing are genuinely unchanged. However, businesses evolve, regulations are updated and project details move on. Review the proof every time, even when it is based on a familiar design.
A Better Proofing Process for Repeat Orders
For regular site signage or campaign work, create a simple approval process within your business. Keep approved logos in their original vector format, maintain a current folder of contact details and use a standard checklist for sizes, materials, finishing and copy. This reduces last-minute file hunting and makes repeat procurement far quicker.
For larger programmes, such as a construction development with perimeter banners, safety boards and directional signage, group the information by location. Label artwork clearly with the intended gate, elevation, plot or zone. A proof is much easier to approve when everyone can see exactly where each item belongs.
The best banner proof is one that lets you approve with confidence, not one that raises fresh questions. Supply final artwork, choose a product built for the location, check every practical detail and give a clear sign-off. That approach keeps production efficient and helps ensure the signage arriving on site is ready to do its job from day one.


