
News
How to Measure Window Decals for a Perfect Fit

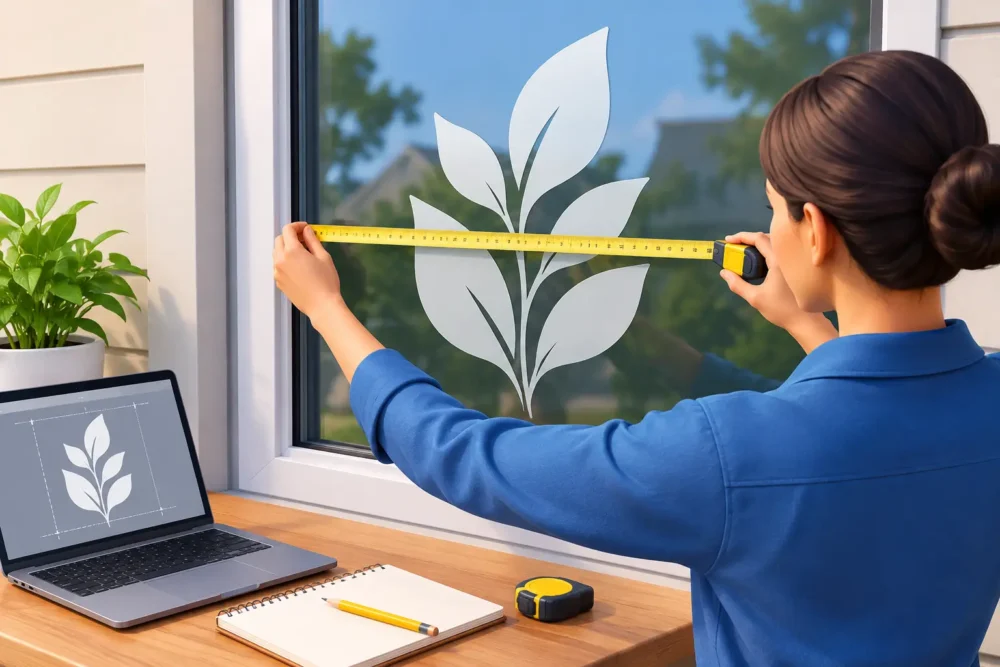
A window graphic can look like a simple purchase until the measurements are wrong. Knowing how to measure window decals properly means your branding, opening hours, promotional message or privacy graphic arrives at the right size, sits neatly on the glass and makes the best use of every visible inch.
For shop fronts, offices, salons, showrooms and site cabins, accurate sizing avoids wasted material, awkward gaps and last-minute fitting problems. It also makes ordering quicker, especially when you need custom vinyl graphics produced fast.
Measure Window Decals from the Usable Glass Area
Start with the section of glass you actually want to cover, not simply the overall frame size. Window frames, rubber seals, handles, mullions and opening mechanisms can all reduce the usable area. Measure the width first, then the height, recording both in millimetres for the most accurate print specification.
Take measurements at more than one point. Older shop fronts and aluminium-framed windows are not always perfectly square, even when they look it. Measure the width at the top, middle and bottom of the pane, then work from the smallest figure if the decal needs to fit inside the visible glass area. Do the same for the height at the left, centre and right.
If the graphic is intended to sit within the glass with a clear border around it, decide on that border before ordering. A 10mm to 25mm margin can give lettering and logos a cleaner, more deliberate finish. For large frosted vinyl panels, a slightly wider margin may be preferable, particularly if the window edges are uneven or regularly exposed to cleaning.
When measuring a full-coverage window decal, allow for the practical reality of fitting. A graphic that is supplied exactly to the edge-to-edge glass measurement can be difficult to position perfectly. In some cases, it is sensible to order a little oversize and trim on site. This works best where the vinyl is being professionally fitted and there is a clean, accessible edge for trimming.
Decide Whether the Graphic Is Applied Inside or Outside
This decision affects more than the material. It affects how the artwork is set up, how the decal is measured and how well it will perform in its location.
External window decals are viewed directly and are usually applied to the outside face of the glass. They offer strong visibility and are a practical choice for shop window promotions, directional messages and bold branding. Measure the external pane area carefully, taking account of any exterior beading, ledges or recessed frames that could make fitting harder.
Internal application is popular where graphics need protection from weather, public contact or regular wash-downs. The decal is applied to the inside of the glass and viewed from outdoors, so the design must be printed in reverse. Measure the same visible glass area from the outside, because that is the view your customers will see. Do not base the size solely on the internal frame, which may be different.
For double-glazed units, it is worth checking whether reflections, tinted glass or internal blinds could reduce visibility. A bright full-colour logo may need stronger contrast than it would on a plain single-glazed pane.
Account for Frames, Dividers and Obstructions
A large window is often made up of several panes. Treat each pane as a separate measurement unless the graphic is specifically designed to run across the full elevation. Vertical dividers can interrupt text, faces, product imagery and QR codes, so these need to be marked on your measurements or supplied photographs.
Doors need extra attention. Measure around handles, push bars, locks and letter plates, and consider how the door opens. A decal placed too close to a handle can lift at the edges through repeated use. For safety, avoid covering essential vision panels or obscuring mandatory notices.
On retail frontages, think about what sits behind the glass too. Shelving, displays, lighting and posters can compete with the decal. A measured graphic may physically fit but still be hard to read from the pavement. Keep key information at eye level and leave enough clear space around the message for it to stand out.
How to Measure Window Decals for Lettering and Logos
Vinyl lettering and cut logos need a different approach from a solid printed panel. Instead of filling every available centimetre, measure the intended display area and assess it from the customer’s viewing distance.
For opening hours, telephone numbers and web addresses, legibility matters more than making the lettering as large as possible. Measure the width available, then consider the height of the text needed to be read from the pavement, car park or roadside. Small lettering can look sharp up close but disappear when viewed from a few metres away.
If you are applying lettering to more than one window, establish a consistent positioning point. This could be 150mm down from the top of each pane, centred horizontally, or aligned with the bottom of a logo. Consistent placement makes a multi-window frontage look organised and professional.
For a logo, supply the maximum width and height available rather than trying to calculate every letter or shape yourself. A production team can scale the artwork proportionately and provide a proof before print. This is particularly useful where logos include fine lines, small type or detailed graphics that may need adjustment for vinyl cutting.
Use a Simple Measurement Record
A quick sketch is often more useful than a list of figures alone. Draw the window or frontage as viewed from outside, label every pane, and add width and height measurements in millimetres. Mark handles, frames, dividers, existing signage and any areas that must remain clear.
Photographs are equally helpful. Take one straight-on image of the full window, followed by closer images of any tricky areas. A tape measure visible in one photograph can provide extra reassurance where dimensions need checking against the image.
For larger projects, include the following details with your enquiry:
- whether decals will be fitted internally or externally
- the glass measurements for each individual pane
- the preferred position of the design
- any borders, clear areas or cut-outs required
- photographs showing frames, handles and dividers
This information reduces proofing delays and helps avoid assumptions that can affect the final fit.
Choose the Right Tolerance for the Job
There is no single rule for tolerance because the right approach depends on the decal type and fitting method. Small promotional stickers can usually be supplied to an exact finished size, provided they are not intended to sit tightly within a frame. Large printed vinyl panels often benefit from extra material for trimming, while cut lettering usually needs a planned clear border rather than oversize vinyl.
If you are measuring frosting or privacy film, be realistic about the edge finish. A narrow exposed strip around the film can look intentional. A film that ends unevenly against the frame will not. Where privacy is the priority, measure the sightline from both sides of the glass, especially in meeting rooms, clinics and reception areas.
Vehicle windows are another special case. Curved glass, heating elements, wipers and legal visibility requirements all affect where a decal can sit. Measure the usable display area rather than the full screen, and do not assume a flat-window measurement will transfer to a curved surface.
Check the Measurements Before Printing
Before approving artwork, compare the proof dimensions with your original measurement record. Check that the width and height have not been reversed, that each pane is clearly identified and that the design direction is correct for internal reverse application.
It is also worth standing outside the premises with your measurements in hand. Visualise the graphic at its proposed size. Will the logo be visible above parked vehicles? Is the opening-hours text clear from the pavement? Does the design avoid the door handle and frame line? This final check takes minutes and can prevent a costly reprint.
At Big Value Banners, free design support and proofs make it easier to turn rough dimensions into a practical, print-ready window graphic. The best results come from clear measurements, a straightforward brief and a design sized for how customers will actually see it.
A well-measured window decal does more than fit the glass. It gives your premises a cleaner, more credible presence, whether you are promoting a seasonal offer, adding privacy to an office or making sure passers-by know exactly where to find you.


