
News
How to Install Wall Graphics That Stay Put

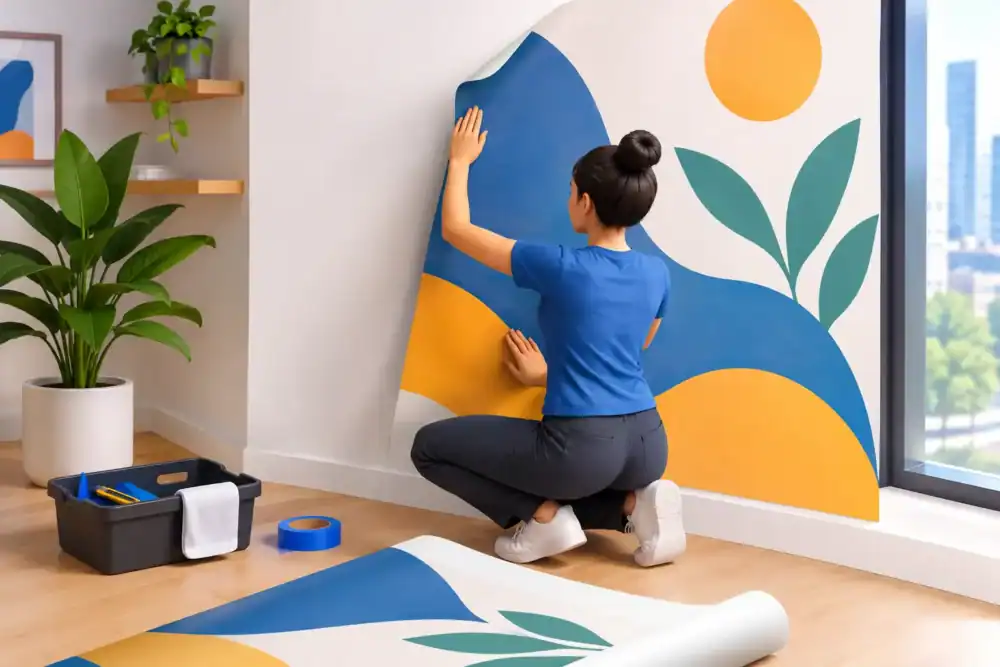
A wall graphic can turn blank retail, office, exhibition or site walls into valuable branded space – but only if it is applied properly. To install wall graphics with a clean, long-lasting finish, the surface, material and fitting method all need to work together. Rushing the job can lead to bubbles, lifting edges, mismatched panels and wasted print.
For businesses fitting vinyl graphics themselves, a little preparation delivers a much better result. Whether you are branding a reception wall, refreshing a shop interior or applying promotional graphics at an event, this practical guide covers the steps that matter.
Choose the right wall graphic before fitting
Not every wall is suitable for every adhesive vinyl. Smooth, sealed and painted walls are generally the easiest surfaces for self-adhesive wall graphics. Textured plaster, exposed brick, dusty blockwork and flaky paint need a more careful approach, as the adhesive cannot make full contact with an uneven or unstable surface.
Vinyl choice matters too. A removable wall vinyl is useful for short-term promotions, seasonal campaigns and exhibition displays. Permanent adhesive vinyl is often better for long-term branding where durability is the priority. If the design covers a large area, printed panels must be produced with enough overlap to create a neat, continuous image.
Freshly painted walls deserve special attention. Even when paint feels dry, it may still be curing and releasing moisture or gases. Applying graphics too soon can affect adhesion and damage the finish when the vinyl is removed. As a sensible rule, allow newly painted surfaces to cure fully in line with the paint manufacturer’s guidance before fitting.
Prepare the wall properly
Most wall graphic problems start before the backing paper comes off. The wall must be clean, dry and sound. Dust, grease, silicone polish and loose paint can stop adhesive vinyl from bonding correctly, even if the surface looks clean at first glance.
Use a mild cleaning solution suitable for the wall finish, then wipe away any residue with a clean cloth. Allow the area to dry completely. Avoid harsh cleaners that leave a film behind, and do not apply graphics to a damp wall. In kitchens, gyms, workshops and public areas, grease and airborne residue are more common than expected, so cleaning is particularly important.
Before installation, check five practical details:
- The wall is dry, smooth and free from peeling paint.
- The room temperature is moderate and stable, not excessively cold or humid.
- The graphic has been unrolled and checked against the approved artwork.
- You have enough clear floor space to handle the graphic safely.
- Panel numbers, overlap marks and installation order are understood before fitting begins.
If the wall has a heavy texture, consider whether a rigid printed board, such as Foamex or Dibond, will produce a more reliable result. Direct wall graphics look effective, but the right display product depends on the surface and the expected lifespan.
Tools needed to install wall graphics
For a straightforward vinyl application, you will need a felt-edged squeegee, masking tape, measuring tape, a spirit level or laser level, a clean microfibre cloth and a sharp craft knife with fresh blades. A second person is strongly recommended for larger graphics and multi-panel wall coverings.
The felt edge is useful because it helps apply even pressure without scuffing the printed surface. If a graphic needs trimming around sockets, switches or architectural features, take your time and use light, controlled cuts. It is much easier to make another small cut than to repair a section cut too large.
Check placement before committing
Measure the wall and mark the intended top line or centre point with low-tack masking tape. Do not rely on ceilings, skirting boards or door frames being perfectly level, especially in older buildings. A level reference line keeps logos, text and panel joins looking professional.
Place the graphic against the wall with tape before removing the liner. Step back several metres and check the position from the viewing angle that customers, visitors or staff will use. This is the moment to correct height, alignment and spacing around furniture or fixtures.
How to install wall graphics using the hinge method
The hinge method gives you control and is particularly effective for medium and large vinyl graphics. Start by positioning the graphic accurately and securing it across the top with a horizontal strip of masking tape. This tape creates a hinge, holding the print in place while you work.
Lift the lower section of the graphic away from the wall and peel back a small section of the backing paper from the top. Do not remove the entire liner at once. Fold the backing paper down out of the way, then use the squeegee to apply the exposed vinyl from the centre outwards.
Use firm, overlapping strokes. This pushes air towards the edges and reduces the risk of bubbles. Continue gradually, peeling away more backing paper as you go. Keep gentle tension on the material, but do not stretch it. Stretching may make the graphic look straight during fitting but can cause it to pull back, lift or distort later.
For a smaller cut vinyl logo or simple decal, the same principle applies. Position it first, expose a manageable section and work steadily from the centre to the edges. Slow application is usually faster than trying to fix a wrinkle halfway through the job.
Applying multi-panel wall graphics
Large printed wall graphics are commonly supplied in numbered panels. Begin with the first panel using your level reference line. It sets the position for every panel that follows, so accuracy here saves time later.
Install the next panel with the stated overlap, rather than butting panels together unless the product instructions specifically say to do so. An overlap helps prevent gaps from appearing as the material settles. Match the printed image carefully before applying pressure, particularly where text, faces, straight lines or patterns run across a join.
Work one panel at a time. Do not attempt to remove liners from several panels and position them all together. That creates unnecessary handling problems and makes it harder to correct alignment.
Deal with bubbles, creases and lifting edges
Small air bubbles are common and often easy to resolve. First, try working the bubble towards the nearest edge with a squeegee or soft cloth. For a stubborn, pin-sized bubble, a very fine pinprick can release the air, after which the vinyl can be pressed flat. Use this technique sparingly – large punctures can become visible in the finished graphic.
Creases are harder to fix because adhesive vinyl bonds as pressure is applied. If you spot a crease immediately, carefully lift the vinyl back only as far as necessary and reapply it slowly. Repeatedly pulling up the same area can weaken the adhesive or lift paint, so prevention is better than correction.
If edges start lifting shortly after installation, check the likely cause rather than simply pressing them down. Dust, moisture, a textured surface, cold conditions or insufficient pressure may be responsible. On an unsuitable wall, a different material or a rigid sign solution may be the more cost-effective choice.
Finishing checks that protect the result
Once the graphic is in place, go over the full surface with the squeegee using firm, even pressure. Pay particular attention to edges, corners and panel joins. Trim only after the graphic is fully applied and you have confirmed the final position.
Allow the adhesive time to settle before cleaning the wall or placing objects against it. Avoid excessive heat, steam and moisture during the first period after fitting. For graphics in busy commercial spaces, tell cleaning teams not to scrub the edges or use abrasive products.
At Big Value Banners, custom wall graphics can be produced to suit your artwork, dimensions and intended application. Checking the wall type and sharing clear measurements before production helps ensure the material selected is right for the job.
A carefully prepared wall, a level starting point and patient squeegee work will make the difference between a graphic that merely goes up and one that looks like it belongs there. When the surface is uncertain, test a small area first – it is a simple check that can protect both your print budget and your finished space.


